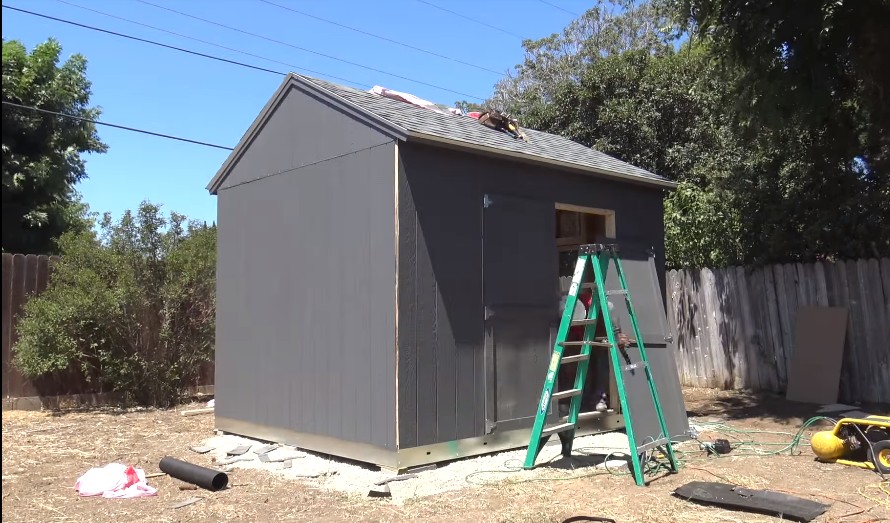
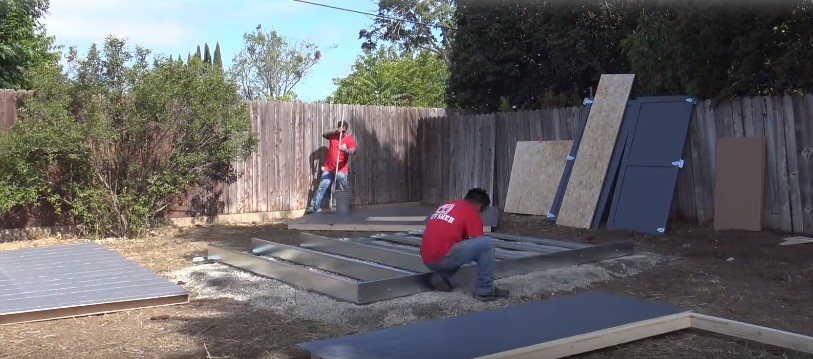
A lot of people are going solar-powered these days with their homes and work places. Here we show you how to build your own solar-powered workshop. There are a few good reasons why you would want to build a workshop this way, the most important is that in the long run, it will save you a lot of money. The task may sound daunting but with some good instructions and the right supplies it can be done by just about anyone.
Of course you will need to acquire certain tools to begin with:
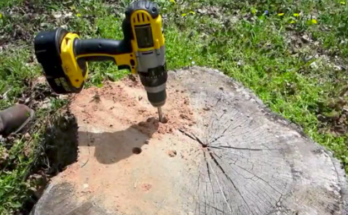
A drill and drill bits
Measuring tape
Wire cutters
and a socket wrench
Plus you will also need a solar pathfinder
The list of materials needed to build a solar workshop is pretty extensive but they all serve a very specific purpose in this type of project.
- premounted charge controller
- 55-watt solar panel
- junction box
- 2″ lag screws
- timer switch
- 100-amp battery
- overhead light fixture
- heavy-duty DC fuse
- heavy-duty welding cable
- mounting hardware kit
- DC inverter
- rubber butyl sealant
- 14-gauge electrical cable
- silicone caulk
Once you gather your tools and supplies you will need to make sure that everything is the correct tool and that all is working properly as it should. The first step is to connect the wiring to the juction box. At the junction box end, there should be a water tight connector. This, of course will protect this area from getting wet. Now you must strip the wires and connect the cable to your junction box. The red wire represents the positive and the black wire represents the negative. Connect wires to their terminal posts and tighten with a screwdriver.
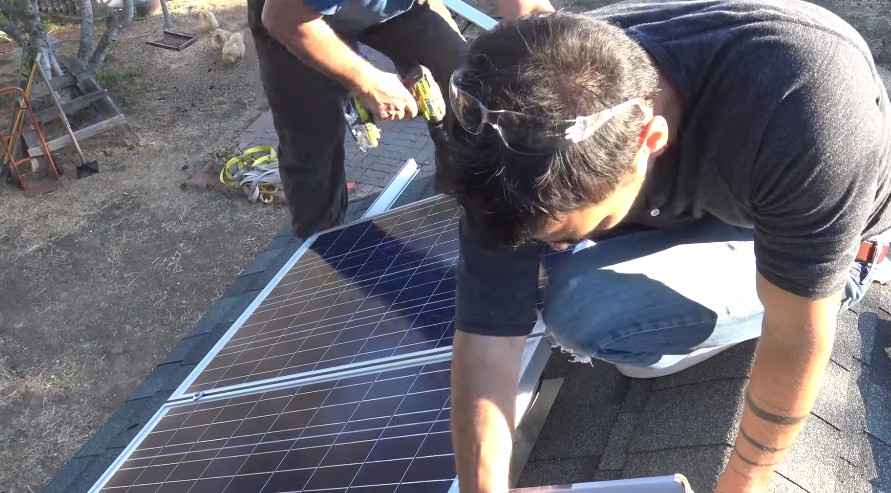
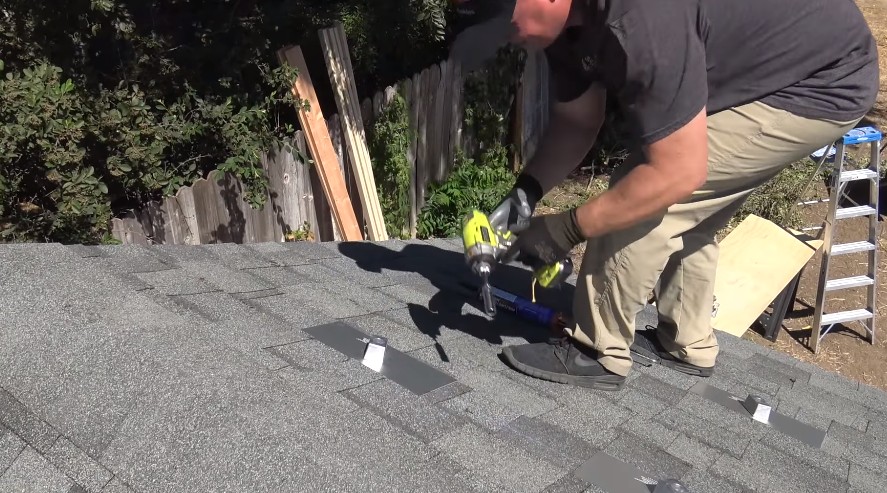
Attach all mounting hardware to the panel. Once that is done, position and install your panel onto the roof of your shop. Route the wire from the solar panel across the roof and place it under the overhang of the roof. To pass the wire into the interior of the building you must drill a hole about 1/2 inch in size and pass the wire through to the interior. Secure the wire with staples and cover the hole with caulking.
Now it’s time to install the electrical panel and attach the panel wiring and connect the battery. Wire the inverter by connecting two heavy duty cables from the utility box to the back of the unit, which should have two receptacle units. Connect the positive and negative wires to their terminals and then turn on the inverter to make sure that electricity is flowing.
Wire the interior by placing the light fixture on the ceiling. For more details and a step by step intstruction chart on how to build your own solar-powered workshop see DIY Solar-Power Work Shed here.