Have you ever heard of “Stamped Concrete?
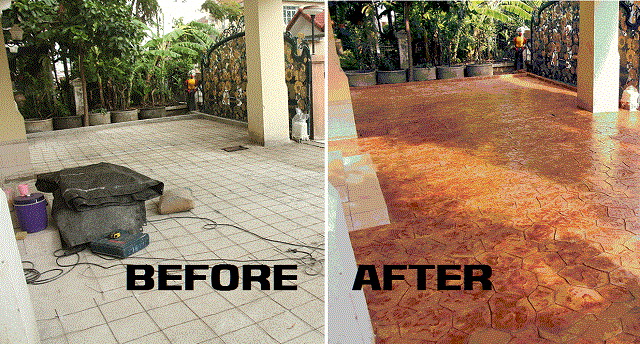
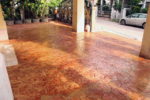
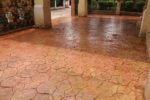
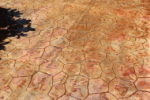
Stamped concrete is a method of applying an interesting pattern and texture to your concrete paved surfaces, like your walk or garden seating area, for example. A lot of people pour concrete in their back yard or garden area, and this is one way of making that concrete more aesthetic or stylish. You can get a wide range of colors, textures, and pattern shapes, so that it looks like nutmeg-brown square rocky tiles, or light blue multi-sided polygonal tiles, or whatever else.
How it’s done: the most important thing is that this is just concrete, but you use a pad or mat, which often looks like the shape of the floor mat of a car, which has the embossed shapes of “tiles.” Those are placed face down on the recently-poured concrete and stamped down with something heavy, which creates creases in the surface of the concrete.
For color, they often add colored clay powder or other colored material before applying the stamped pad. You can dye the surface of the concrete or a powder any color.
For texture, you can apply rocks to the surface or anything else, which, when it makes impressions in the concrete, will create a texture on the surface.
Taken together, these three elements form the basic parts of “stamped concrete” projects.
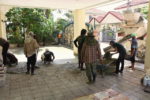
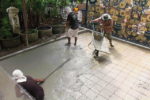
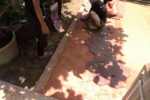
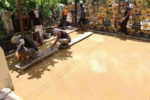
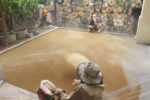
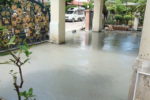
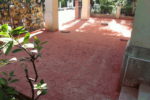
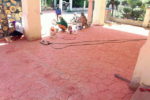
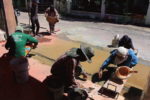
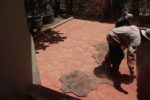
You can get a stamped concrete job done by local builders, for sure, but you can also do it DIY style. These people in tropical Thailand did outside their house where their parking lot area had gotten a bit worn-out looking.
The steps:
- pour the concrete into the boxed off area
- Let it dry a bit (the right amount)
- apply the colored powder
- pound the color in until the right coloration is achieved
- apply another color if you want a multi-colored appearance
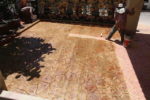
- apply the mats that have the surface pattern (usually, this isn’t done with so many mats they cover the whole concrete slab at one time, but instead they work from one corner across, stamp them, then move the pads)
- go over the grooves of the pattern with a finishing wheel if you like
- finish the pattern by creating grooves to the edges of the slab (with a finishing wheel or other tool)
Let it dry and that’s about it for basics.
Check out the gallery of photos below.
Find more from builders and companies we’ve indexed in our Home Designers and Builders Directory. You can search the company’s name and look builders near your area. And to see more home and garden,click here.
